ArduinoNote List-page
PREVIOUS: Note2 – Blink sketch
Hand-on #2 : Hello World
-“Hello World” Program을 해보자
-Hand-on #1에서 실습한 Blink Example을 바탕으로 Hello world를 출력하기 위해 UART (Serial)를 극복하자.
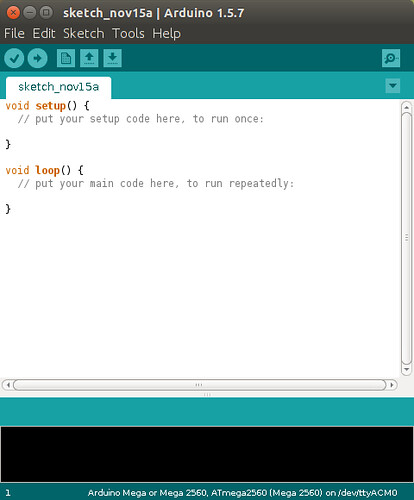
Setting Serial Port on Sketch IDE
- Sketch IDE를 실행한 뒤 메뉴에서 Tools를 클릭하여 아래와 같이 Port를 설정한다.
-
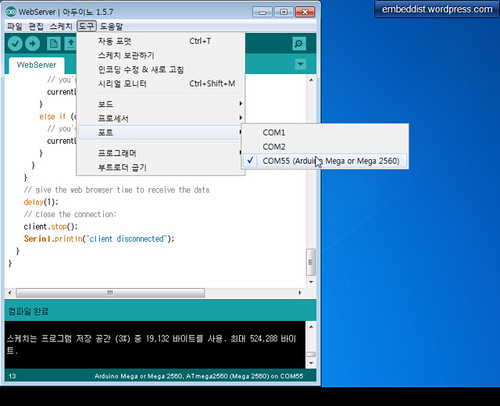
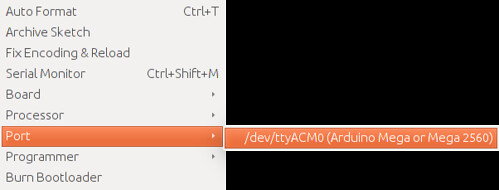
Serial Port를 설정한다.
- OS가 Windows일 경우
- OS가 Linux일 경우
- OS가 Windows일 경우
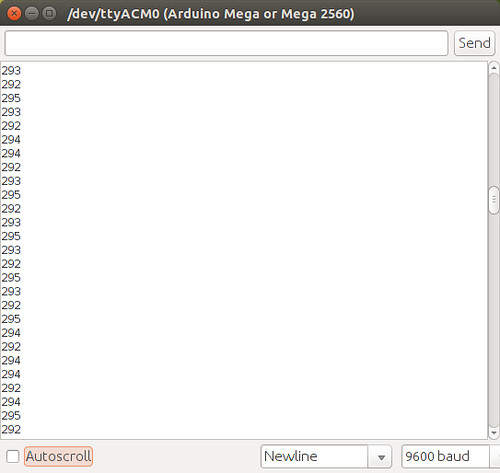
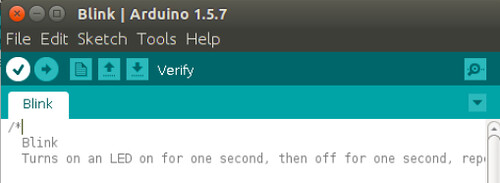
- Serial monitor의 실행을 위해 오른쪽 상단의 돋보기 아이콘을 클릭

-
Serial monitor 실행모습
Skeleton Code based on Blink sketch
// the setup function runs once when you press reset or power the board
void setup() {
  // initialize digital pin 13 as an output.
  pinMode(13, OUTPUT);
  // Open serial communitaions  at 9600 bps (bit per seconds)
  // ...insert codes #1...
  // print "Blick Example"
  // ...insert codes #2...
}

// the loop function runs over and over again forever
void loop() {
  // print "Hello World"
  // ...insert codes #3...
  digitalWrite(13, HIGH);   // turn the LED on (HIGH is the voltage level)
  delay(1000);              // wait for a second
  digitalWrite(13, LOW);    // turn the LED off by making the voltage LOW
  delay(1000);              // wait for a second
}
Hello World based on Blink sketch
// the setup function runs once when you press reset or power the board
void setup() {
  // initialize digital pin 13 as an output.
  pinMode(13, OUTPUT);
  // Open serial communitaions at 9600 bps (bit per seconds)
  Serial.begin(9600);
  // print "Blick Example" or own message
  Serial.println("Blick Example");
}

// the loop function runs over and over again forever
void loop() {
  Serial.println("Hello World!");
  digitalWrite(13, HIGH);   // turn the LED on (HIGH is the voltage level)
  delay(1000);              // wait for a second
  digitalWrite(13, LOW);    // turn the LED off by making the voltage LOW
  delay(1000);              // wait for a second
}
Compile
- IDE 메뉴의 스케치>확인/컴파일
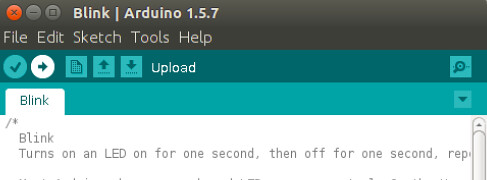
Program
- IDE 메뉴의 파일>프로그램어를통해업로드

Pingback: Arduino를 IoT 기기로 만들어 보기 – Webserver 따라하기 | B Story ..
Pingback: UART(Serial) 동작 | Irina's Atelier